Article
Feb '20
Do you struggle to write blog posts? Don’t know where to start? Read this post

Tom Bradley
Related services
If you struggle with mental block when it comes to writing content for your website, or that flashing cursor on your empty page makes you want to curl up into a ball - you’re in the right place!
In this article we’ll be honing in on our tips for writing content for your website (though really, the skills are transferable to all types of content whether you’re writing a proposal or planning a pitch or presentation). First off, it’s important to remember that everyone has a different writing style and different approach to writing - for some it comes naturally, for others there are methods to get there and the tips below are great for those who find it difficult to find a rhythm with their writing.
The solution: know that your first draft is awful
In a nutshell to write a decent blog post you need to focus, research and chunk. If you can get your head around these three steps then you’re onto a winner every time. Secondly, it’s important to realise that, even for great writers, your first draft is likely to be pretty rubbish. It’s only by getting your early thoughts down on paper (or on screen) and then revising, refining and adding detail as you go that you’ll build up to something you’re happy with and that your audience will enjoy reading. You’re reading the third draft of this paragraph right now.
What if I can’t think of anything to write about in the first place?
Our advice is to keep a list of blog post ideas that you can pick from when you have the time and inclination to write (ideally this would be tied in with your overall content marketing strategy but a simple list is a great starting point). Don’t have a list? No problem - let’s start one now.
Imagine your business is in property development. Let’s break down your list of services, this might include:
Surveys
Building & Manufacture
Extensions
Interiors
Planning
Design etc.
Now break these down further into sub-services. Take ‘Design’ for instance:
Design
3D modelling
Taking a brief
Garden design
Designs for open plan living etc.
Once you have this list, break it down further into the issues and values that customers might experience for each:
Designs for open plan living etc.
Getting the flow right in an open plan home
Creating zones
Island units in open plan design
Creating privacy in an open plan home
Now you have an exhaustive list of blog post topics - simple right?
So we’ve made a list and we’ve picked a subject, now we need to pick a purpose. Think to yourself, why are you writing the article? What’s the problem you’re trying to solve? What would your readers find useful? Write these down - this information will form the introduction to your article or, at the very least, give you some inspiration for the structure of what you’re going to write.
Don’t worry about how it reads at this stage, just write it down in note form and you can revise it later (let’s not get bogged down in the detail at this stage).
How to focus and structure a blog post when you’re stumped
With the purpose of the article now decided, the next step is to write a rough set of bullet points outlining everything you think your reader might find useful or interesting about your given topic (all the while keeping that original purpose of your article in mind). If you're not brushed up on the subject then recruit a subject matter expert from elsewhere in your team and get the low down on the topic.
Google is your friend
Having written your bullets, run a few searches on Google for your subject of choice and open up a handful of articles that loosely tie in with what you have in mind for your piece.
Tip: When you start typing into Google’s search field you’ll see suggested searches appear that relate to the keywords you’re using - these are terms that are regularly searched for by web users. If you want to improve the SEO and the value of your article, try to cover some of these queries within your own article (or use one of the phrases as your own article heading for instance). Also, once you’ve hit search, scroll down to the bottom of the page and you’ll also see a list of ’searches related to….’ these are another set of useful suggestions for content that you might want to include in your article. Find out more about keywords and SEO in our other blog article.

Research to expand on your ideas
Now, returning to the articles that you opened up from Google - considering other points of view is a great way to get inspired and to expand on your own initial thoughts. IMPORTANT: don’t copy their text - we’re just gathering inspiration from some of the topics and themes they’ve also considered. You’ll want to rewrite everything in your own words (in your company’s voice) and from your own experience.
This research phase will just help you block-in some subject matter for your own post. If you find something you’d like to include in your article but can’t think of a better way to rephrase what the author has written, or anything that you can add to the concept - you can quote them directly and link back to their article in your post (you may even be able to get them to share your article on social media later down the line). Remember to give credit where credit’s due.
By the time you’ve finished reading a few articles you should now have a list of bullets that approach your topic from a number of different angles. Once you’re finished, re-shuffle this list into an order that you think would be most relevant - something that you think would make sense as a flow for your article. This will form the overall structure.
Building up your article step by step
Looking at your bullets one at a time, start to think about how you could break it down further. Just like you did when you were creating that list of potential blog posts. This will help you get some more ideas about how to embellish on your original themes and you’ll start to build up the content of the page. By the time you’ve finished, you’ll have the makings of a cohesive article, though still fairly loosely written.
Fill in the gaps
Begin to develop each bullet and note into a couple of sentences or a paragraph, remembering at all times to keep in mind the initial purpose of the article so that you don’t run off-topic. Don’t worry about sections of your article linking together all that smoothly - you’ll want to break up each section into bitesize chunks with engaging subheadings (much like we’ve done in this article).
By breaking up your content, or ‘chunking’ as it’s known, you’ll actually make it easier to scan read and more engaging for your audience. Likewise, try to keep your sentences short and snappy and use plain English where possible. Even the use of bullet points is aloud if it allows you to get your point across more effectively.
People remember stories
When writing your article, don’t be afraid to share your own experiences - in fact, the more the better. Stories and personal anecdotes are far more engaging for the reader. Stories make readers take notice - all of a sudden they’re getting a unique insight and a fresh opinion and that makes all the difference.
The finishing touches
Once you’ve finished drafting your article follow these steps:
Run a spell check!
Re-read your article (preferably the following day or at least a couple of hours later)
Get a second opinion! Ask a colleague to read the article
With these steps completed, it’s time to add in the extras:
If you’ve written any other articles that are connected to topics covered in the piece - don’t forget to link to them within your text
Likewise if you’ve quoted other sources, add in a link and give them credit
Edit the headings and subheadings to include some key phrases that you think people are likely to search for or be interested in - this will boost the SEO of your content
Add in some pull-quotes, make key points bold and insert images at relevant and regular intervals within your article to bring it to life, whilst drawing attention to important points you’ve covered
Finally, add in a call-to-action - remember the purpose of the article that we set in the beginning? This is your time to relate the post back to your business once and for all. Link to the relevant sections of your website for more information and give your contact details for those who are ready to get in touch.
That’s it, you’re done. If you find this article useful let us know - we’d love to read some posts of your own that you’ve created using the process!
Thanks for reading
For more news follow us @rootstudiouk
Similar posts
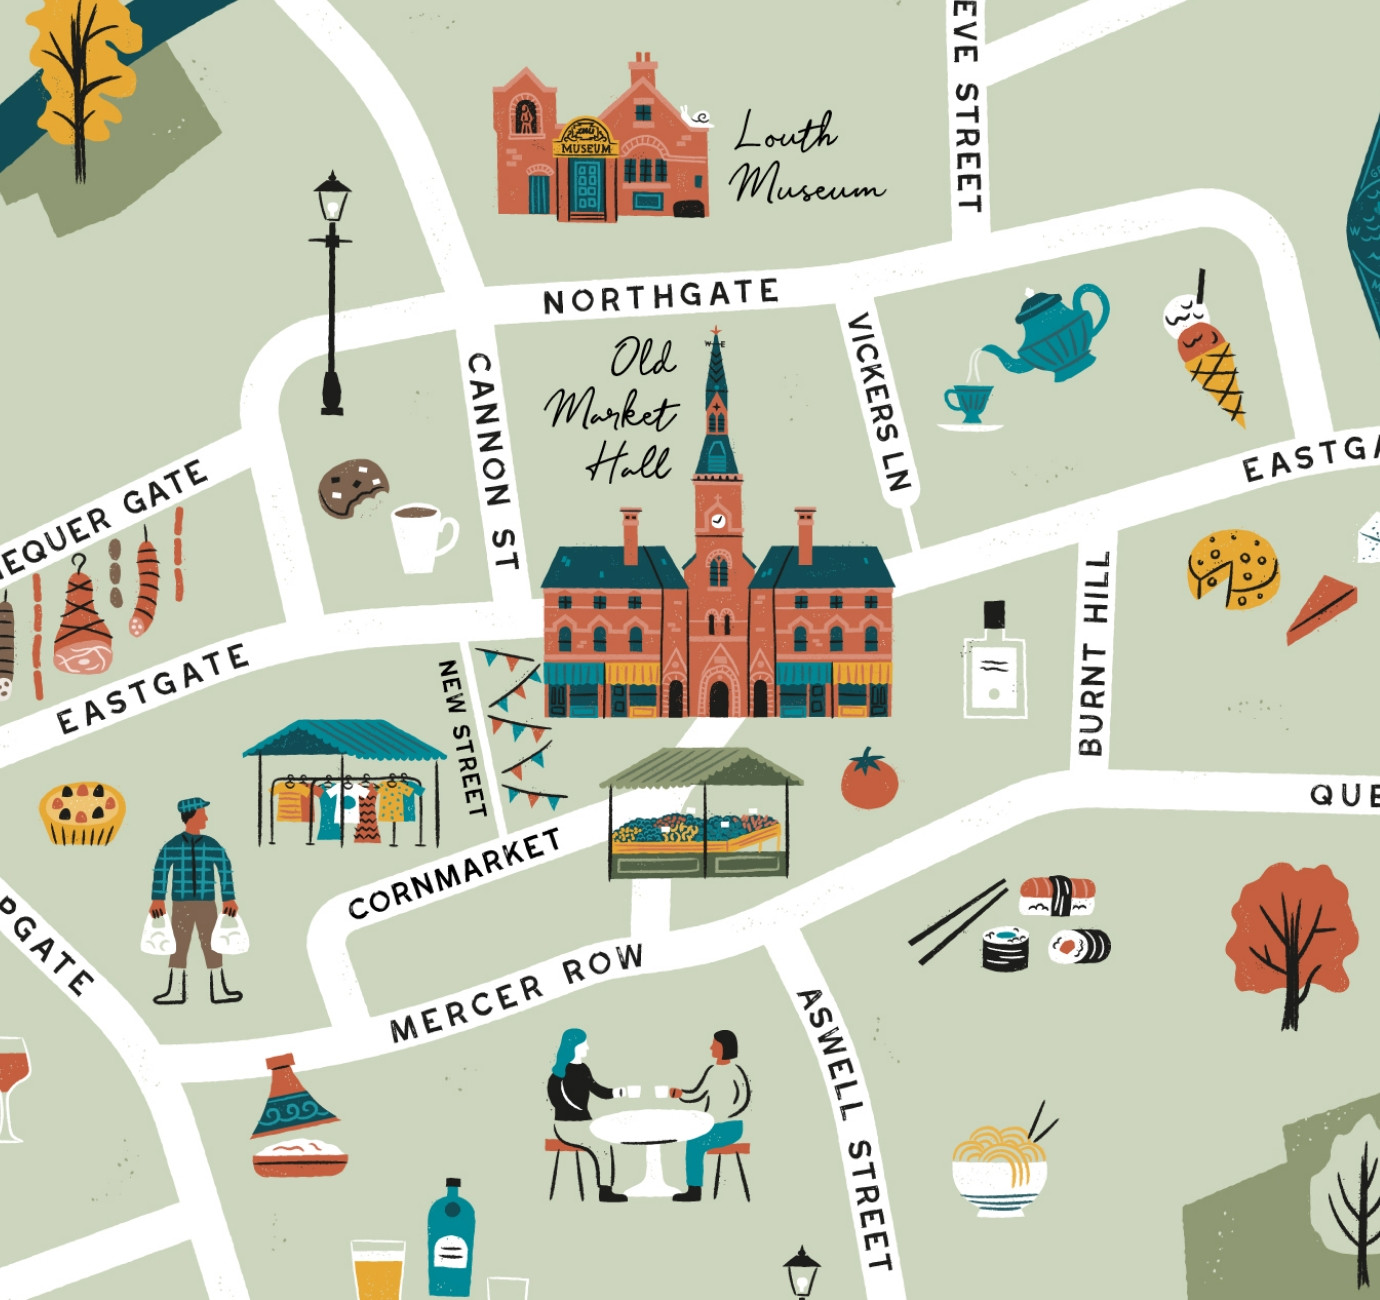
Illustrated maps can capture the essence and personality of a place, embodying its character and charm in a visually captivating way. In this article, we'll delve into the many considerations that you and your designer should make whilst crafting your illustrated visitor map.

In recent months we've been working with the Lincoln College team behind the scenes at the development of their groundbreaking ASI campus in Newark to develop a cohesive and innovative collection of signage and wayfinding graphics for students, visitors and staff of the site.